For a typical HVLP spray gun, automotive base coat is sprayed at 26–29 psi measured at the gun with the trigger pulled — which corresponds to roughly 10 psi of atomizing pressure at the air cap, the compliance ceiling for HVLP — while conventional (non-HVLP) guns run higher, typically in the 30–50 psi range, and the final number should always come from your paint manufacturer’s technical data sheet.
Why air pressure is the make-or-break setting for base coat
Base coat is the layer that carries color, and unlike clear coat it is often applied with a relatively thin viscosity and a fast-evaporating reducer. Too little air pressure and the fluid does not atomize fully, so the paint lands in coarse droplets that leave a rough, mottled, or “dry-spray” surface. Too much pressure and the atomized particles travel too fast and bounce back, wasting material, creating overspray, and leaving a dry, cloudy finish with poor metallic orientation on pearl and metallic colors. Getting the pressure right is what lets a thin base coat lay down smooth and even, ready for the clear coat on top.
Pressure also drives transfer efficiency — the fraction of sprayed paint that actually lands on the panel instead of drifting into the booth air. Lower atomizing pressure improves transfer efficiency and cuts overspray, which is the whole reason HVLP (high-volume, low-pressure) guns were adopted across automotive refinishing in the first place.
Two pressures you need to understand, not one
The most common source of confusion in shop advice is that “spray pressure” can mean two different numbers measured at two different places, and they are not the same thing.
Pressure at the gun inlet (what your regulator dial reads)
This is the number a painter sets with the trigger pulled and air flowing. On a gun with a small regulator or gauge at the handle, this is what the dial shows. For a typical HVLP gun spraying base coat, this dynamic inlet pressure commonly sits around 26–29 psi, a figure used widely in hands-on auto-body tutorials [LearnAutoBodyDIY]. Note that this is the flowing pressure: a gauge read with the trigger closed will show a higher “static” number that drops when the trigger opens and air starts moving.
Pressure at the air cap (the HVLP compliance limit)
By the time the air reaches the air cap where atomization actually happens, the pressure has dropped. This is the number that matters for HVLP compliance. 3M’s spray gun manual states plainly that for HVLP and compliant guns, at 29 psi gun inlet pressure the pressure at the air cap is about 10 psi, and that to remain “HVLP compliant” the atomizing pressure must not exceed 10 psi (70 kPa, 0.7 bar). This ceiling is echoed by the EPA’s STAR program, which notes that HVLP manufacturers typically suggest an operating pressure of about 10 psi at the gun tip, and by equipment maker Sames, which defines HVLP as a maximum 0.7 bar (10 psi) atomizing air pressure with at least 65% transfer efficiency.
In short: the 26–29 psi and the 10 psi are not contradictory — they are the same setup described at two different points in the air path.
Pressure by spray gun type
Not all spray guns want the same pressure. The right number depends on which technology you are holding.
| Gun type | Typical atomizing / inlet pressure | Notes for base coat |
|---|---|---|
| HVLP | ≈10 psi at the air cap; ≈26–29 psi dynamic at the gun inlet | High transfer efficiency, low overspray; the refinish default in many regions |
| Conventional / air spray | 30–50 psi typical, up to 90 psi per EPA | Finer atomization but more bounce-back and overspray; faster for some clears |
| LVLP | ≈9.5–10 psi at the cap, with 45–60% less air volume than HVLP | Lower air consumption suits smaller compressors; still low-pressure |
The pressure ranges above come from the EPA’s automotive refinishing control-technology profile, which documents conventional guns operated at 30–90 psi, HVLP guns at 0.1–10 psi at the gun, and LVLP guns atomizing at 9.5–10 psi while using roughly 45–60% less air volume than HVLP. Atlas Copco likewise cites a 30–50 psi operating window for spray painting and notes an HVLP gun can demand up to 20 CFM versus 10–15 CFM for a conventional gun — a reminder that pressure settings are meaningless if the air supply cannot sustain them.
Base coat versus clear coat: different ends of the same range
Once the gun is set up, small adjustments distinguish the layers. Because base coat is thinner and atomizes more readily, it generally works best in the lower half of the gun’s pressure range, while clear coat and single-stage products — which are thicker and need more energy to flow out — are sprayed in the upper half, a distinction Summit Racing describes in its gun-adjustment guide. In practice many painters report spraying base coat at about 26–29 psi and adding 2–3 psi for clear coat [LearnAutoBodyDIY].
How to set base coat pressure correctly
- Read the paint’s technical data sheet (TDS) first. The reducer ratio, viscosity, and any pressure guidance from the paint maker override generic numbers.
- Mix the base coat exactly to the recommended reduction ratio — a thicker or thinner mix changes how the fluid atomizes at a given pressure.
- Set the pressure dynamically. Pull the trigger fully and adjust the regulator so the gauge reads your target (around 26–29 psi for a typical HVLP base coat setup) while air is flowing.
- Test on scrap. Spray a test panel and check for a fine, even pattern with no coarse droplets (too low) and no dry, dusty halo or heavy bounce-back (too high).
- Use the lowest pressure that atomizes cleanly. As 3M’s guidance puts it, always use the lowest air setting needed to achieve the desired finish for maximum transfer efficiency.
Your air supply can quietly change the pressure
The pressure at the gun is only as good as the air reaching it. The EPA STAR case study found that to hold 10 psi at the gun tip with a standard shop hose, a painter had to raise the line regulator substantially — and that the fix was a larger 3/8-inch inner-diameter hose, which delivered more air volume so the tip held its pressure [EPA STAR]. If your compressor or hose is undersized, pressure will sag as you spray, and no amount of dialing up the regulator will recover it. Match the compressor’s CFM output to the gun, use a properly sized hose and a dedicated regulator with a water trap, and re-check the flowing pressure each time you change hose length or fittings.
FAQ
Is 10 psi or 26–29 psi the “right” number for base coat? Both, at different points: about 10 psi at the air cap (the HVLP compliance limit) corresponds to roughly 26–29 psi of flowing pressure at the gun inlet on a typical HVLP gun.
What if my base coat looks dry and rough? Usually too little air (poor atomization) or too fast a pass. Raise pressure slightly within range and check the reduction ratio against the TDS.
What if I get heavy overspray and bounce-back? Pressure is likely too high. Drop it and use the lowest setting that still gives clean atomization.
Does clear coat need more pressure than base coat? Generally yes — clear coat and single-stage products are sprayed in the upper half of the range, typically a few psi above the base coat setting.
Should I trust the gauge on the gun handle? Yes, but only as a flowing-pressure reading taken with the trigger pulled. Verify it against the paint manufacturer’s recommendation and your finish results.
Recommended spray equipment
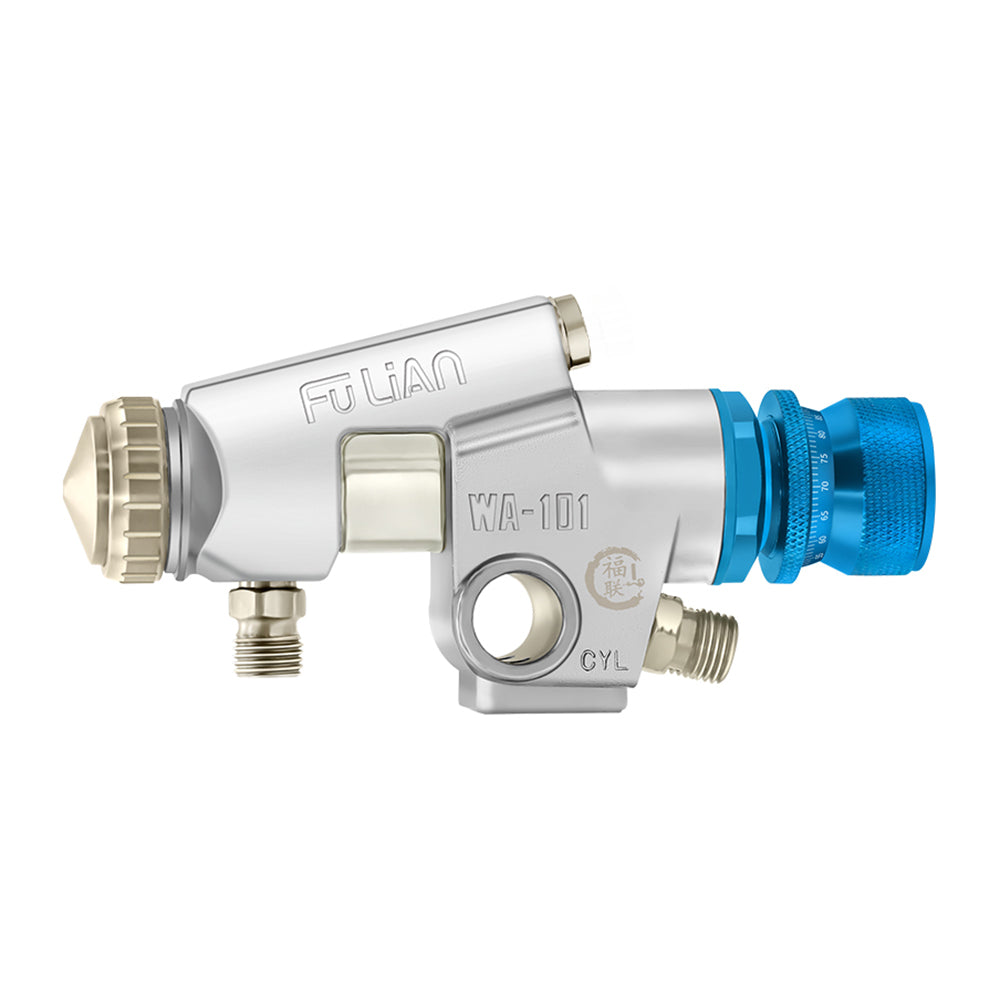
WA-101R Round-Spray Air Gun — $62.00
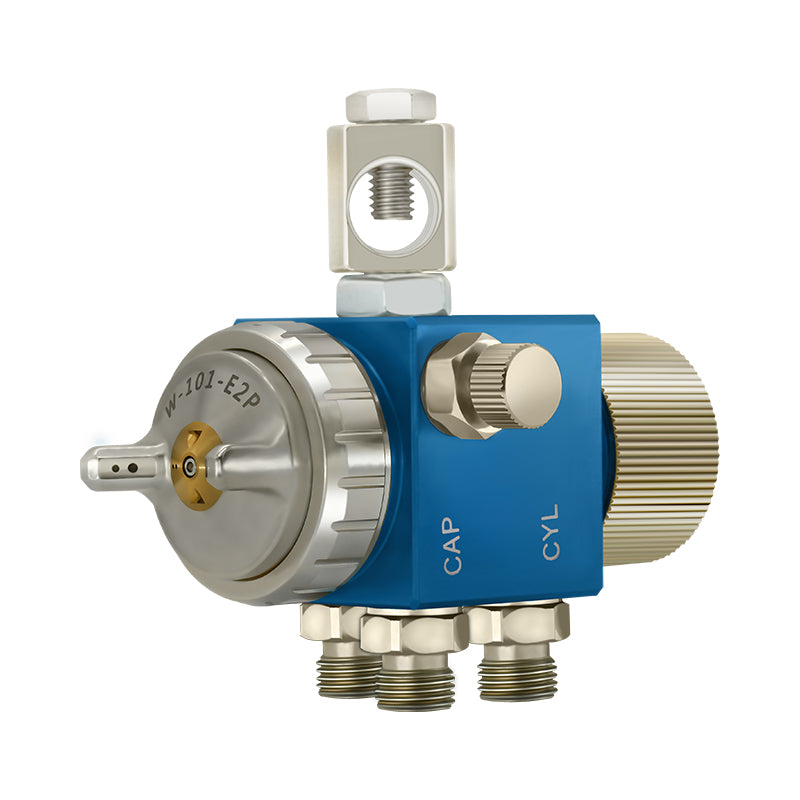
A-101 Automatic Spray Gun — $67.50
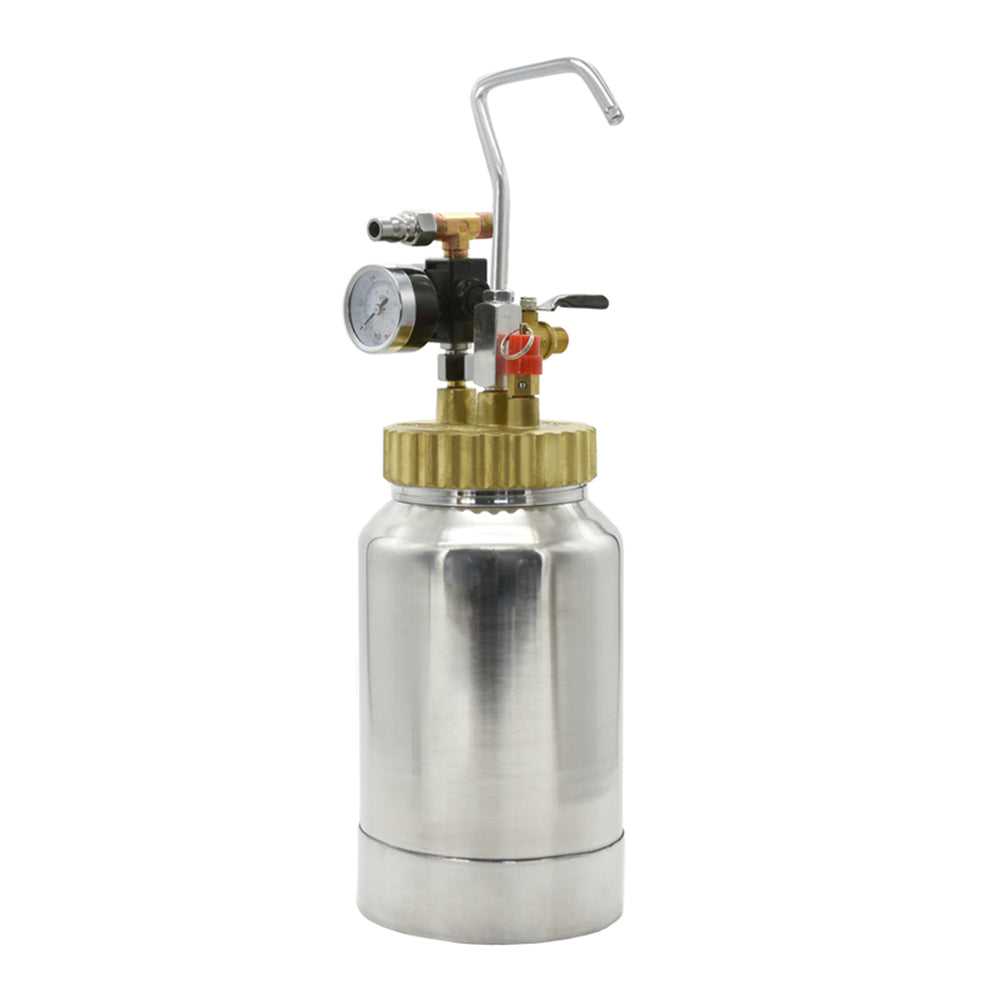
Paint Pressure Tank 2L / 5L / 10L — $89.50
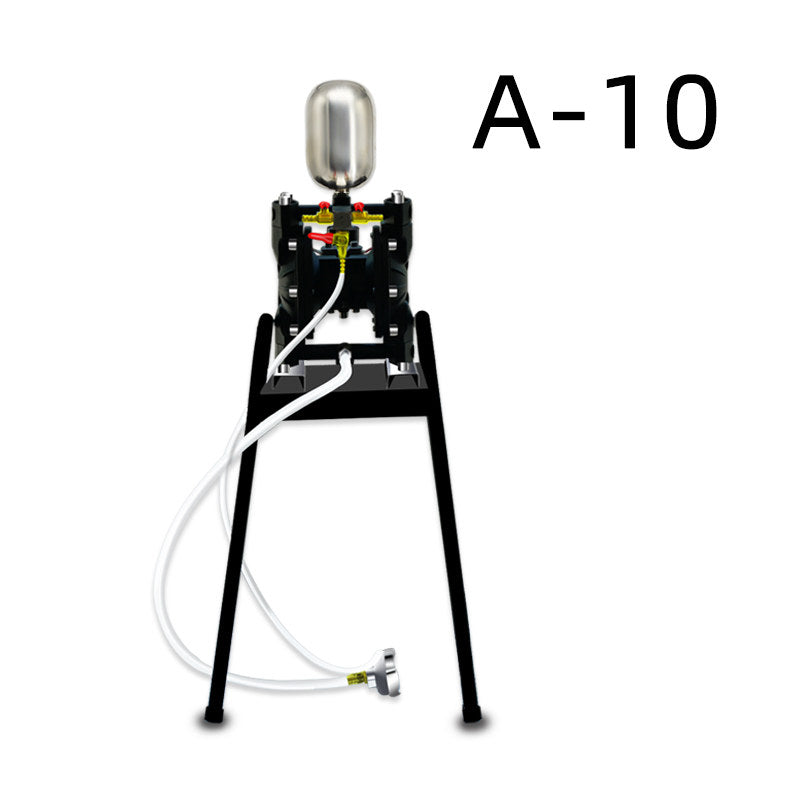
A10 / A15 Stainless Steel Diaphragm Pump — $101.00
Looking for a dependable air spray gun or paint-supply equipment for your finishing line? Browse the full Airycoat spray-equipment range for guns, pressure tanks, and pneumatic pumps built for industrial coating work.